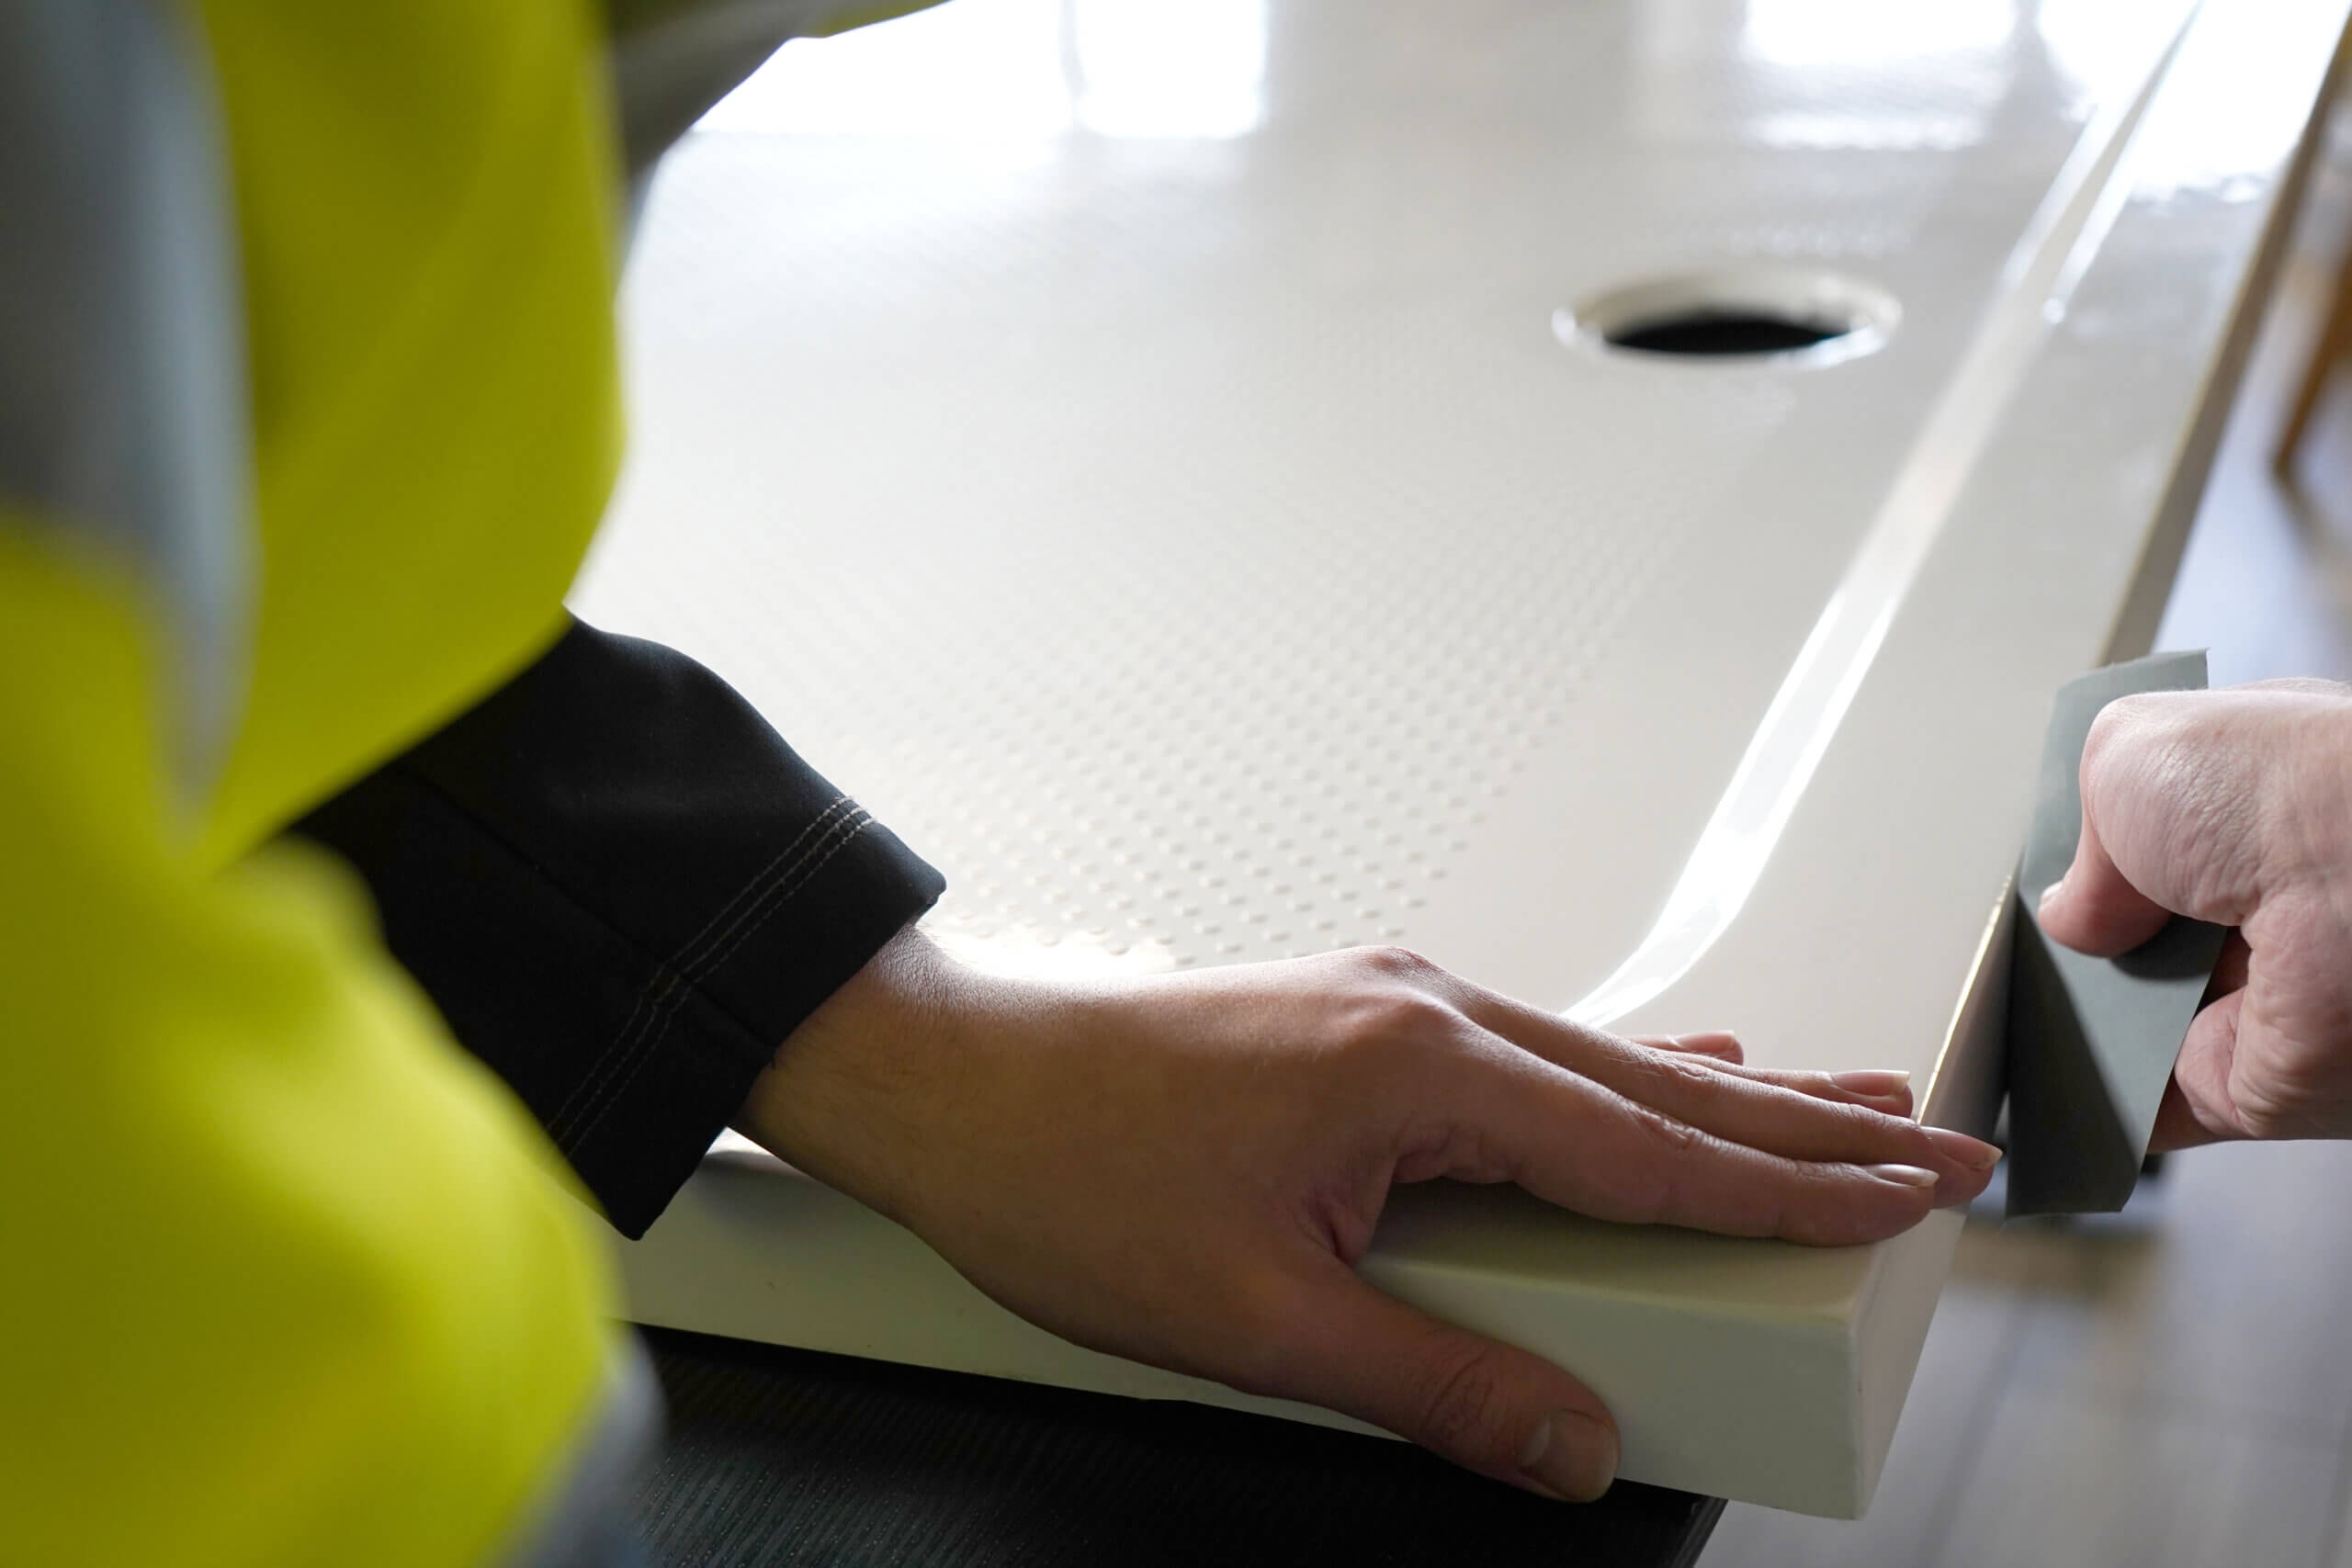
Step 1
Thoroughly rough and clean the sides of the tray or bath that the Classi Plus is to be attached.
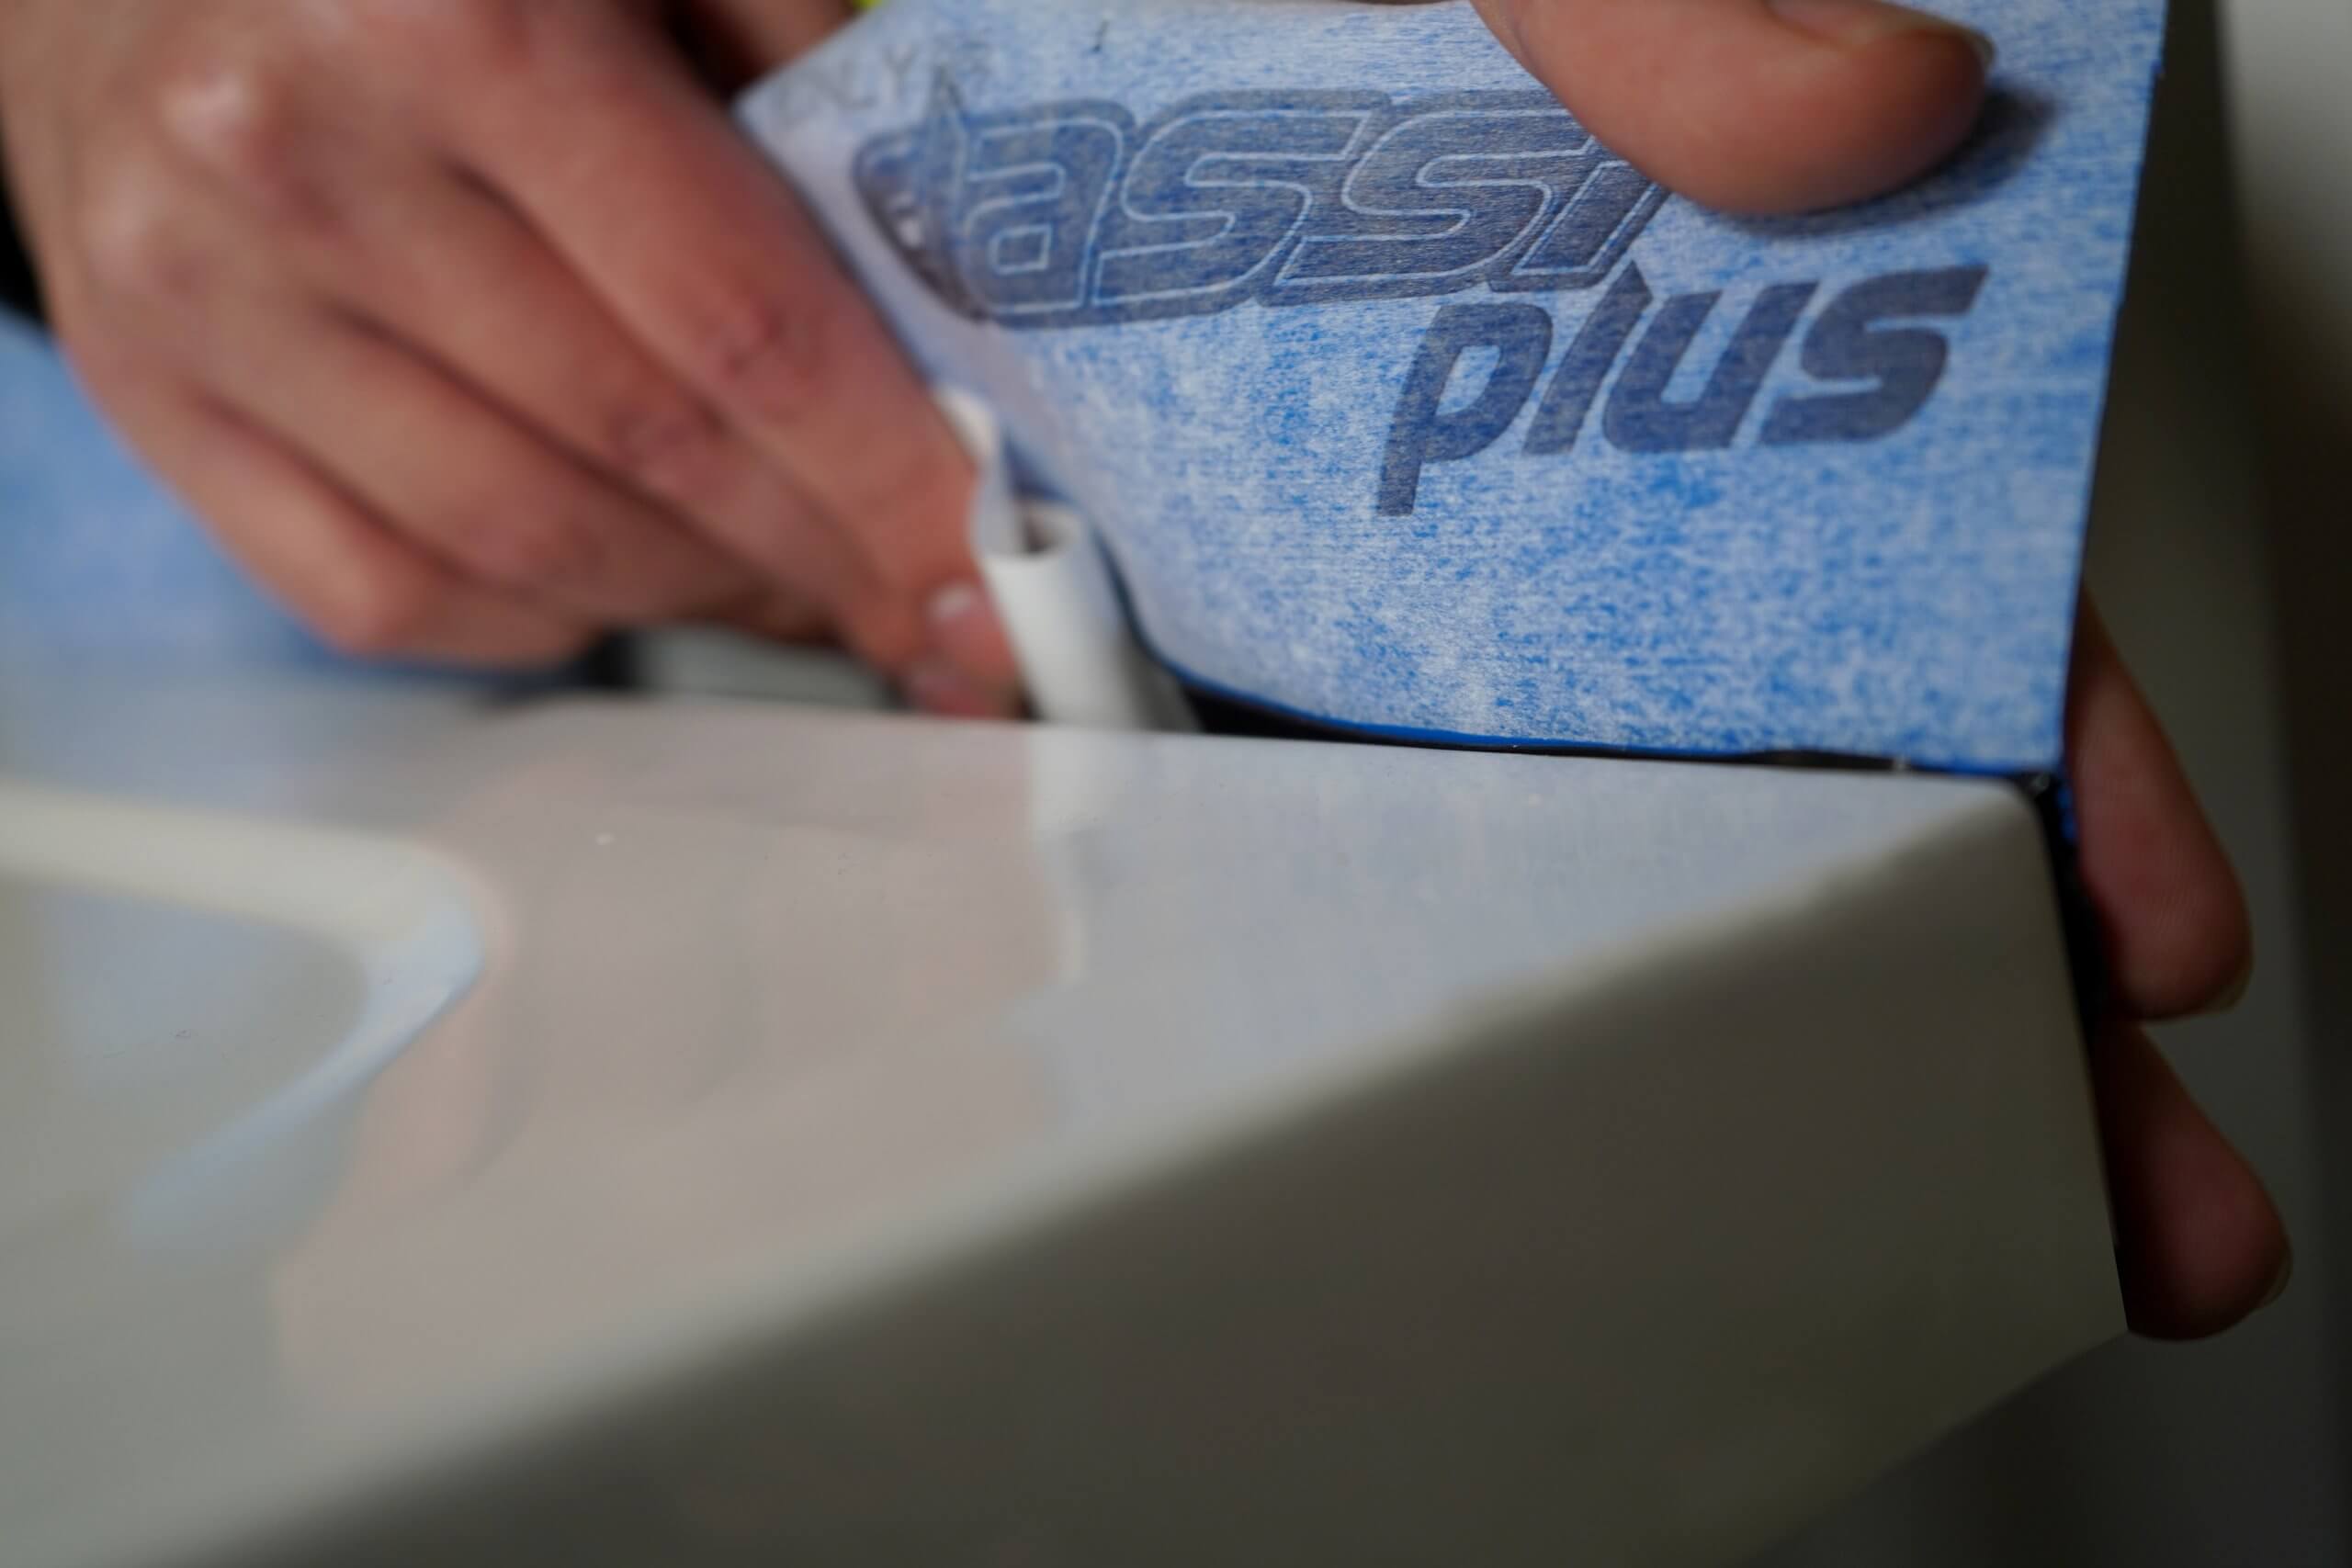
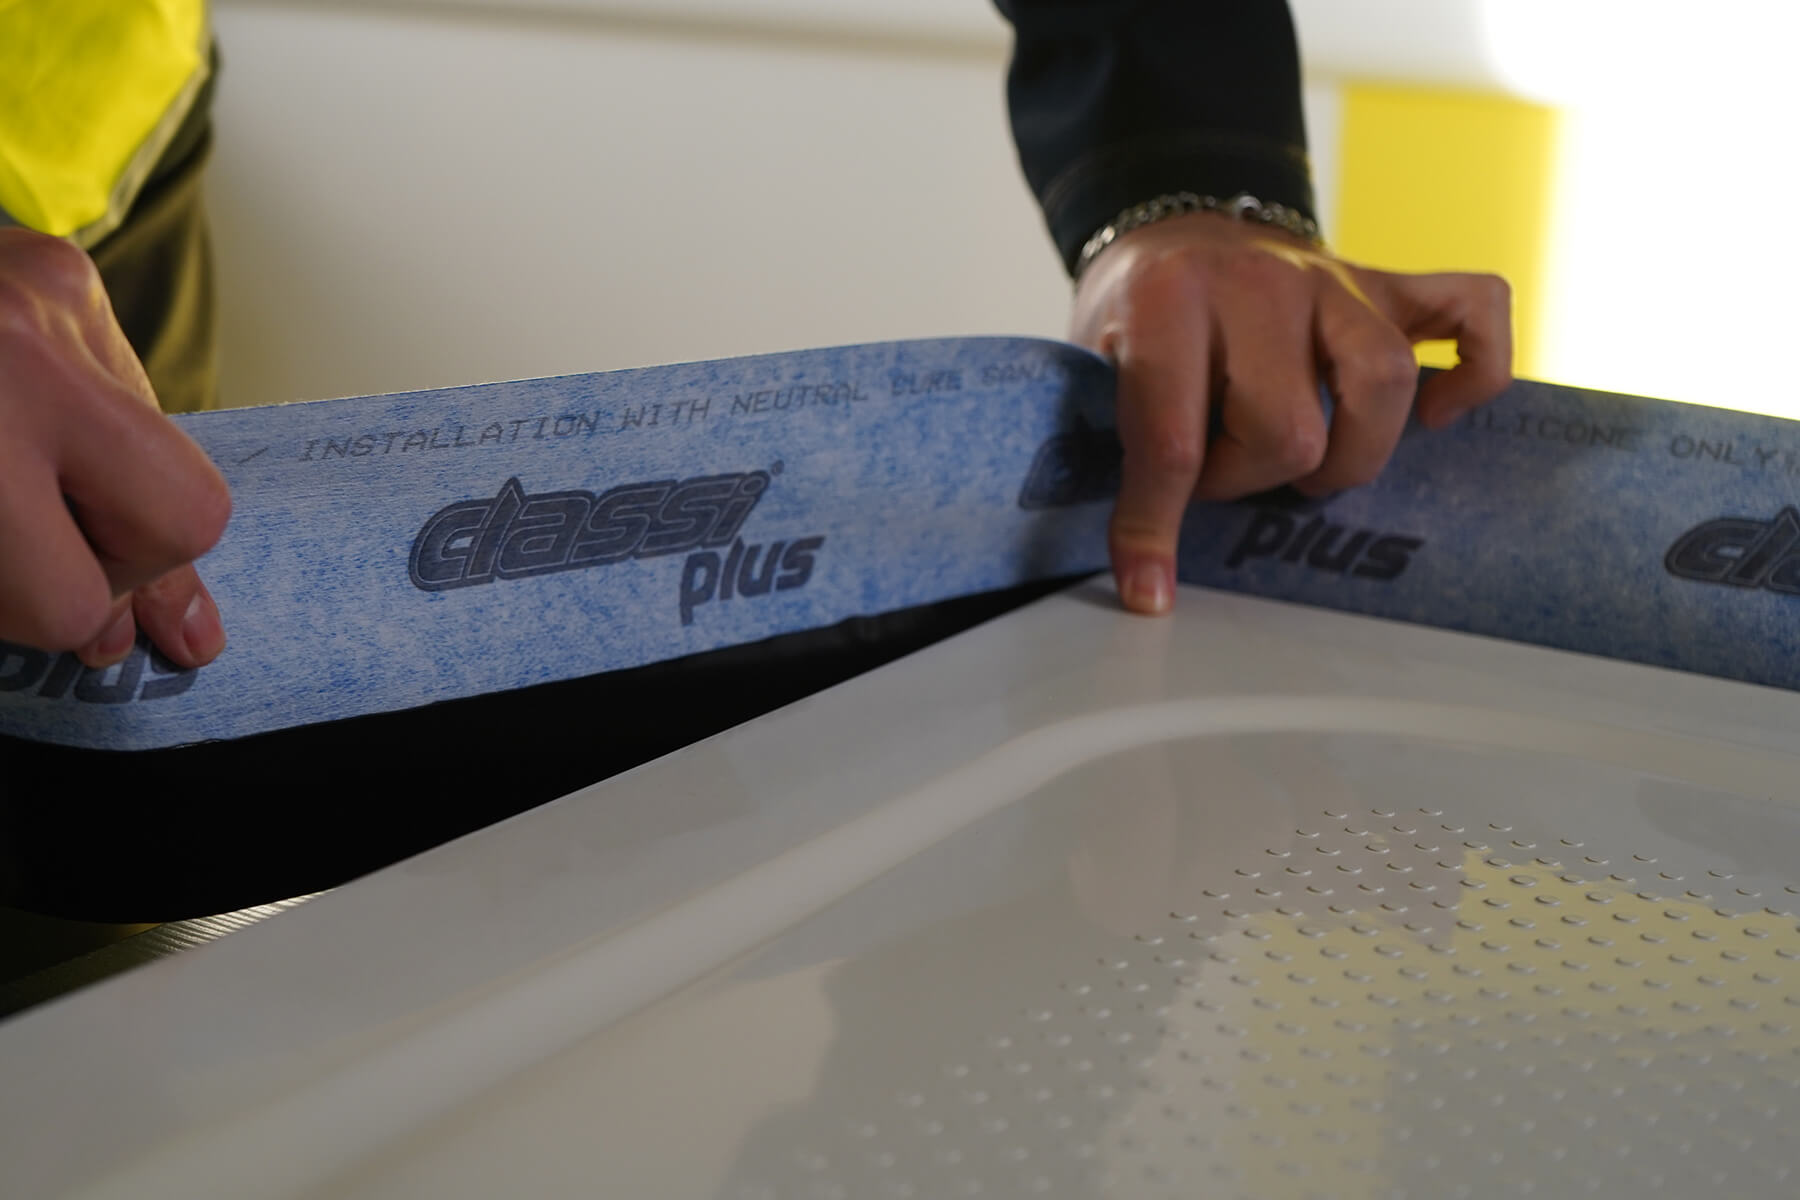
Step 2
Remove the backing paper 100mm at a time. Align the top of the adhesive strip with the top edge of the shower tray or bath and firmly press on by hand. The perfect fit will show just a bit of black above the shower tray or bath.
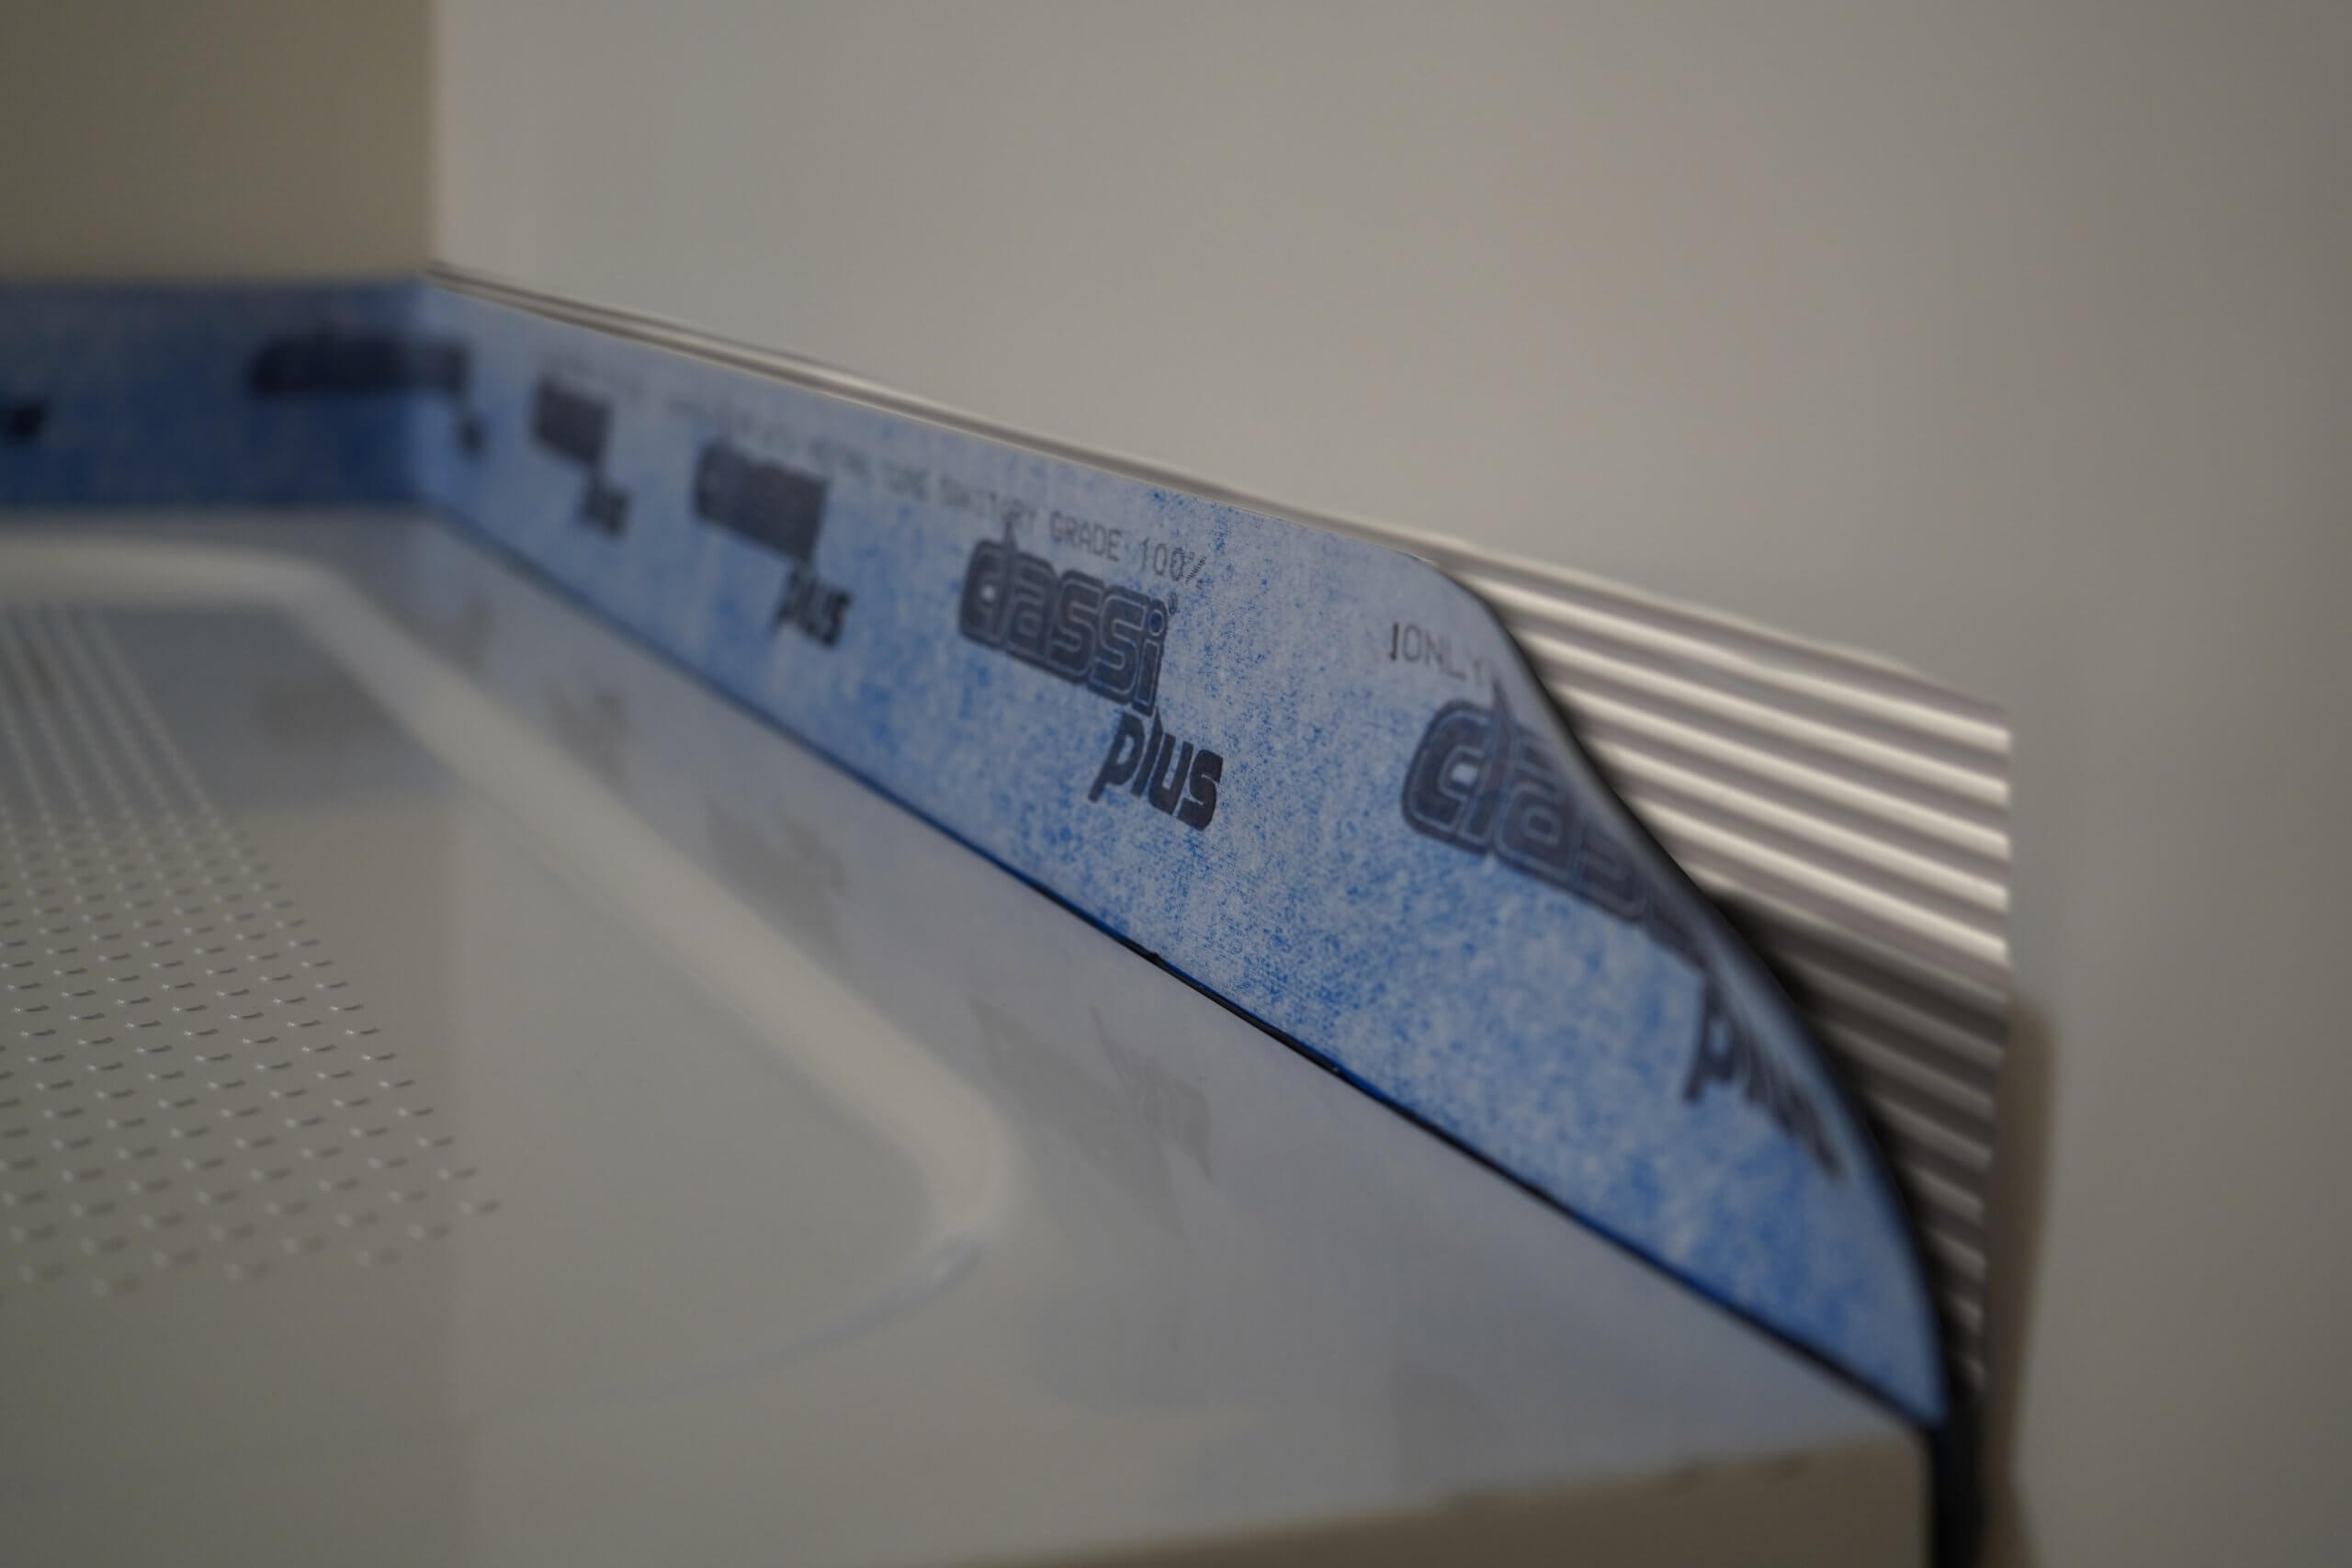
Step 3
Before applying around the corners, pinch the Classi Plus to allow extra material in the corners – this helps with subsequent tiling. When finished applying, give the Classi Plus one last rub all the way round to ensure the perfect seal – paying special attention to the corners.
Step 4
Apply C2 tile adhesive (Find out more about C2) to wall behind Classi Plus upstand. Press upstand into adhesive with the back of the trowel ensuring there are no air pockets.
Following tiling or wall panelling, finish with a Neutral Cure Sanitary Grade 100% Silicone.
Classi Plus is available in 2m, 2.5m, 3.2m and 4m rolls, to be used in an unbroken, continuous run.