Why Should I use a Wetroom Kit?
Unlike some waterproofing projects which are done for peace of mind, a wetroom must be fully waterproofed in order to stop water damage to the other parts of the house. You want to have complete freedom to use your wetroom space how you would like to. That only comes from 100% waterproof coverage. A Classi Wetroom kit comes with everything you need in one box, each product designed to work with each other to create the ultimate wetroom space.
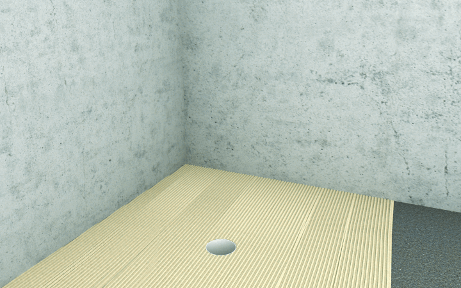
Step 1
Apply tile adhesive to the floor area.
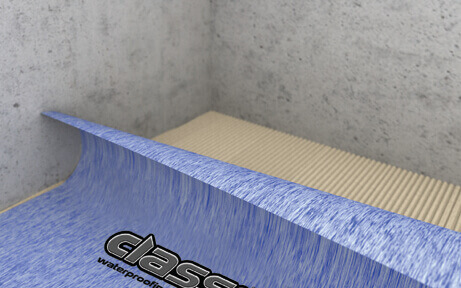
Step 2
Apply Classi waterproofing membrane and carefully cut the hole for the waste. Take care to leave enough membrane to overlap within the waste fitting.
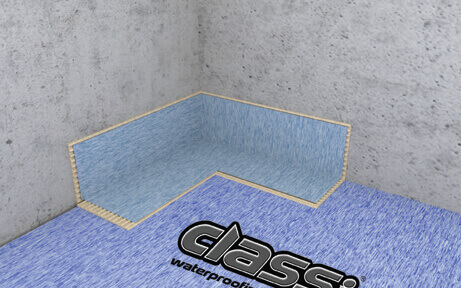
Step 3
In the corner apply adhesive and corner piece.
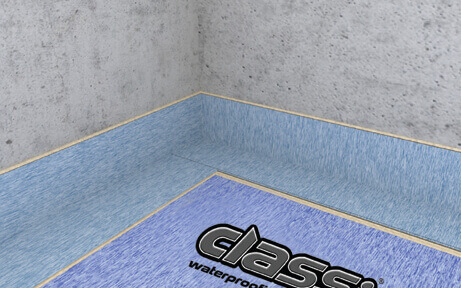
Step 4
Apply adhesive and Classi corner and joint tape between the floor and walls.
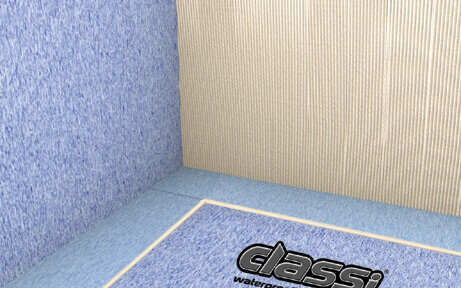
Step 5
Apply tile adhesive and membranes to the wall, overlapping the Classi Corner and Joint Tape by at least 75mm. Do not apply wall membrane around the corner – leave a gap of approx 20mm between the Classi membrane and the corner.
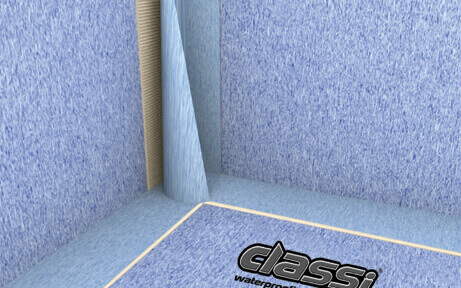
Step 6
Apply adhesive and Classi corner and joint tape to the corners.
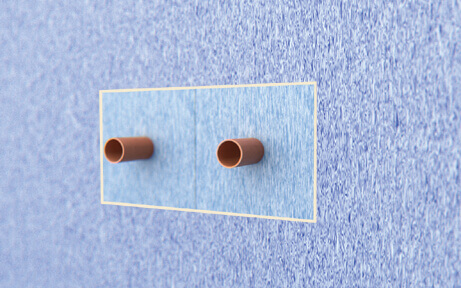
Step 7
For extruding pipes push over Classi Pipe collars, bonding to the wall with tile adhesive and removing excess air.
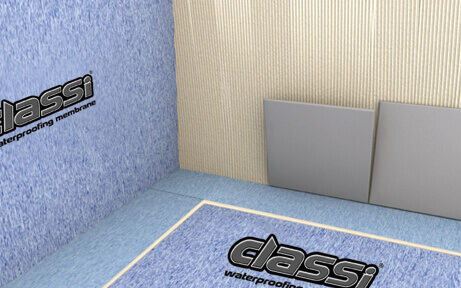
Step 8
Waterproofing completed. Ready to tile immediately, no waiting time.
Following tiling or wall panelling, finish with a Neutral Cure Sanitary Grade 100% Silicone.
Not sure what size of kit you need? Click here to see our size guide.