Classi Waterproofing

How do I install Classi Plus?

Step 1

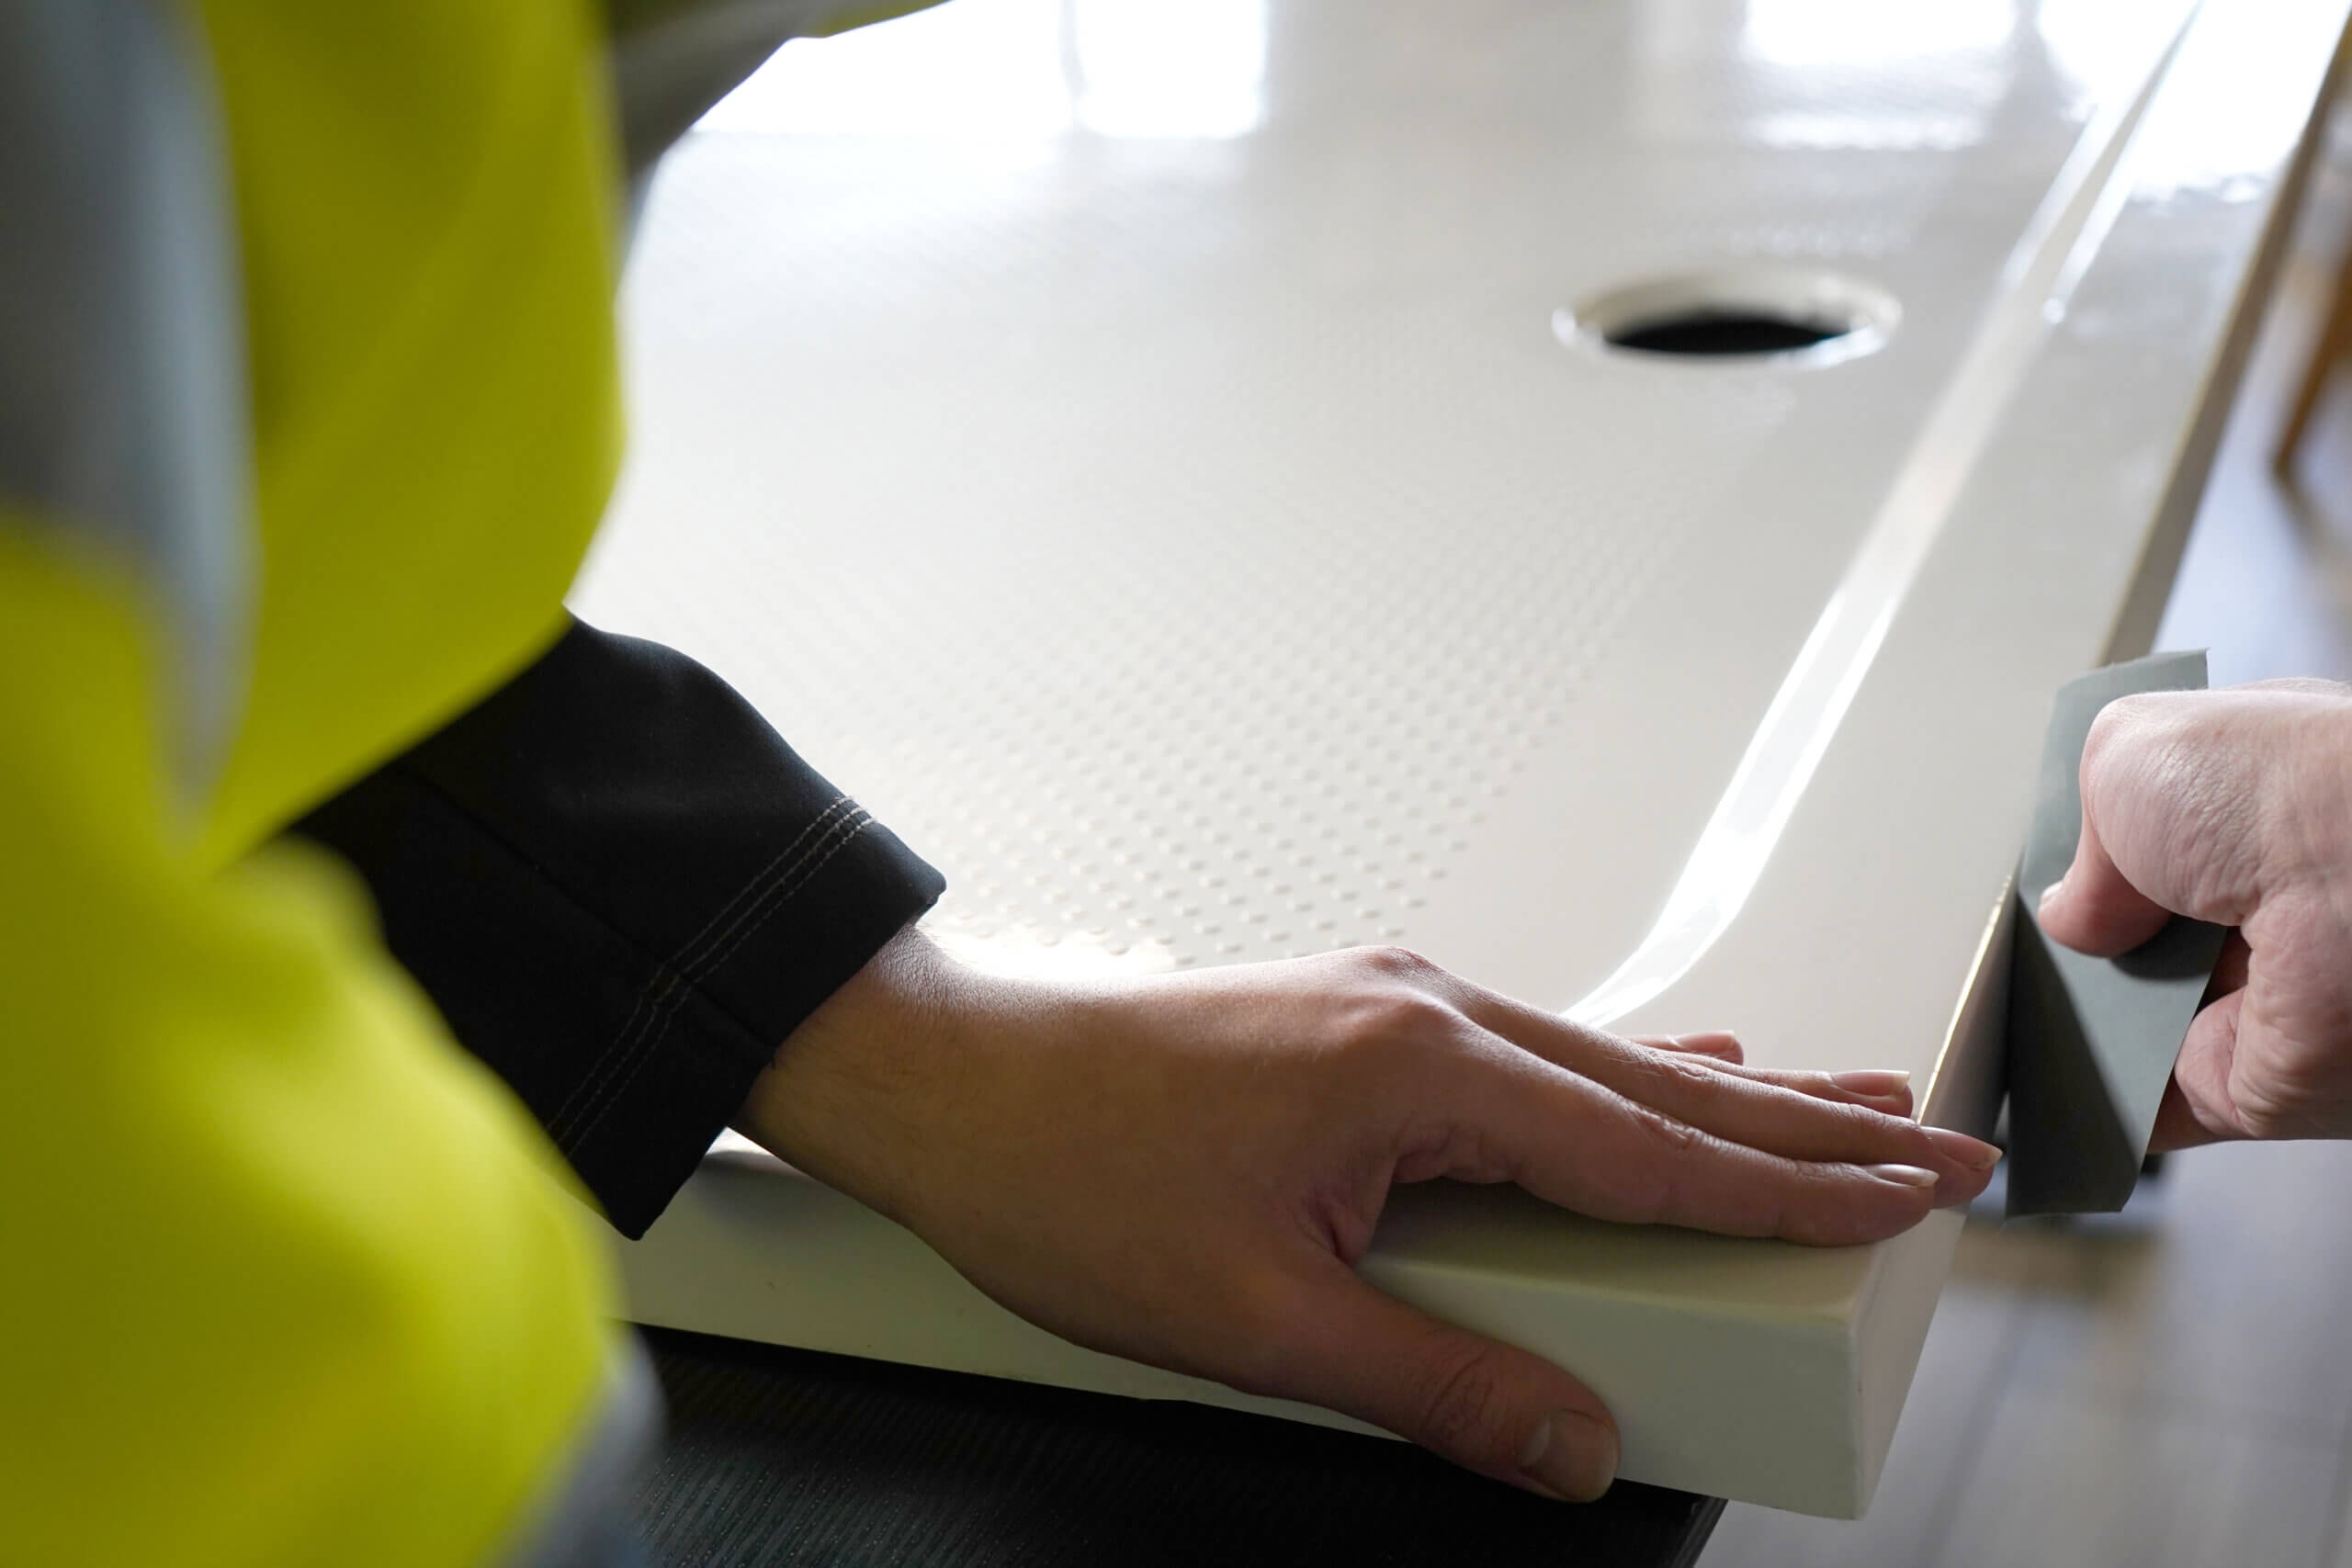
Thoroughly rough and clean the sides of the tray or bath that the Classi Plus is to be attached.
Step 2

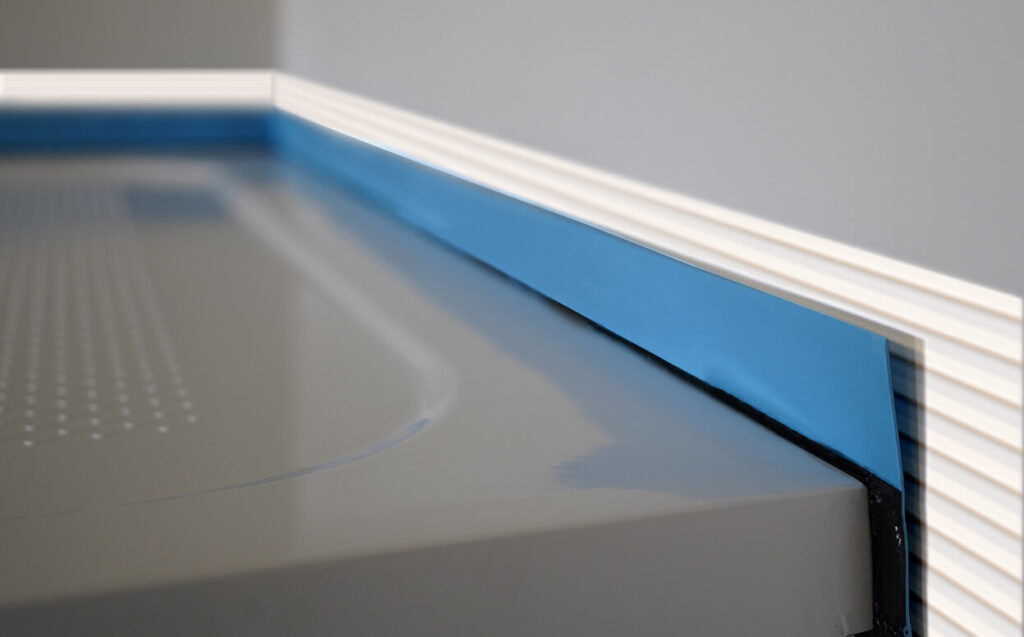
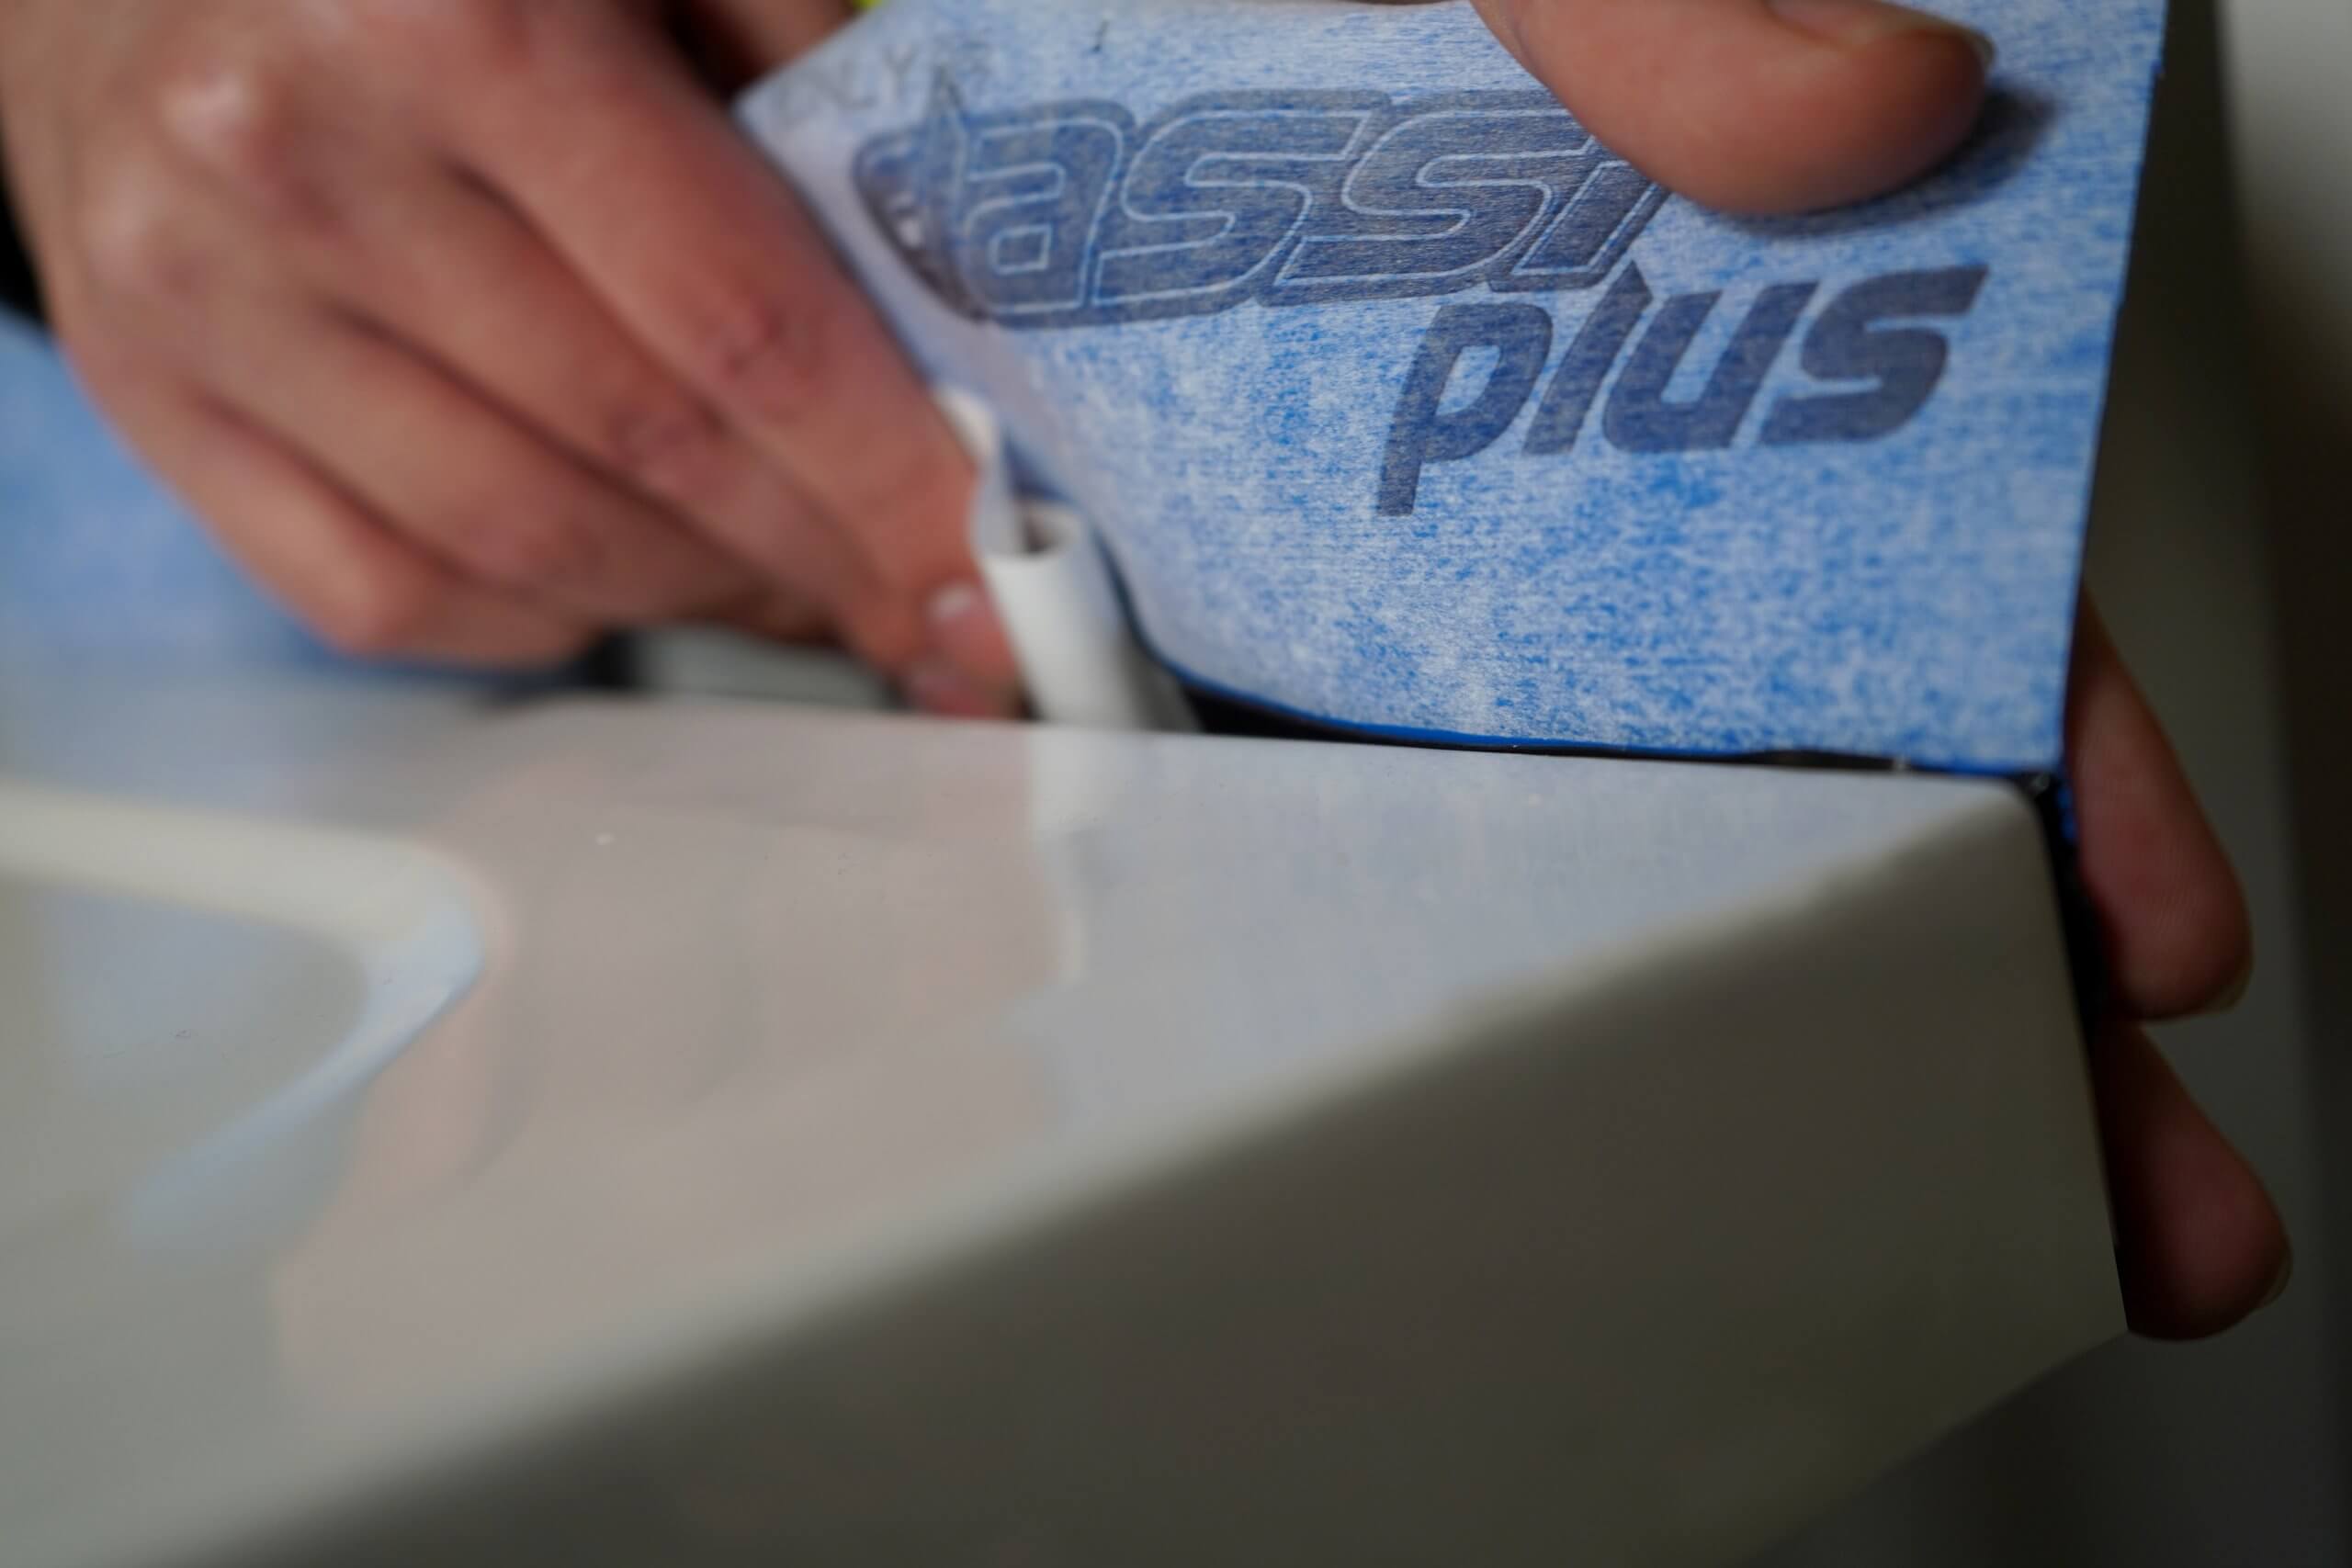
Remove the backing paper 100mm at a time. Align the top of the adhesive strip with the top edge of the shower tray or bath and firmly press on by hand. The perfect fit will show just a bit of black above the shower tray or bath.
Step 3

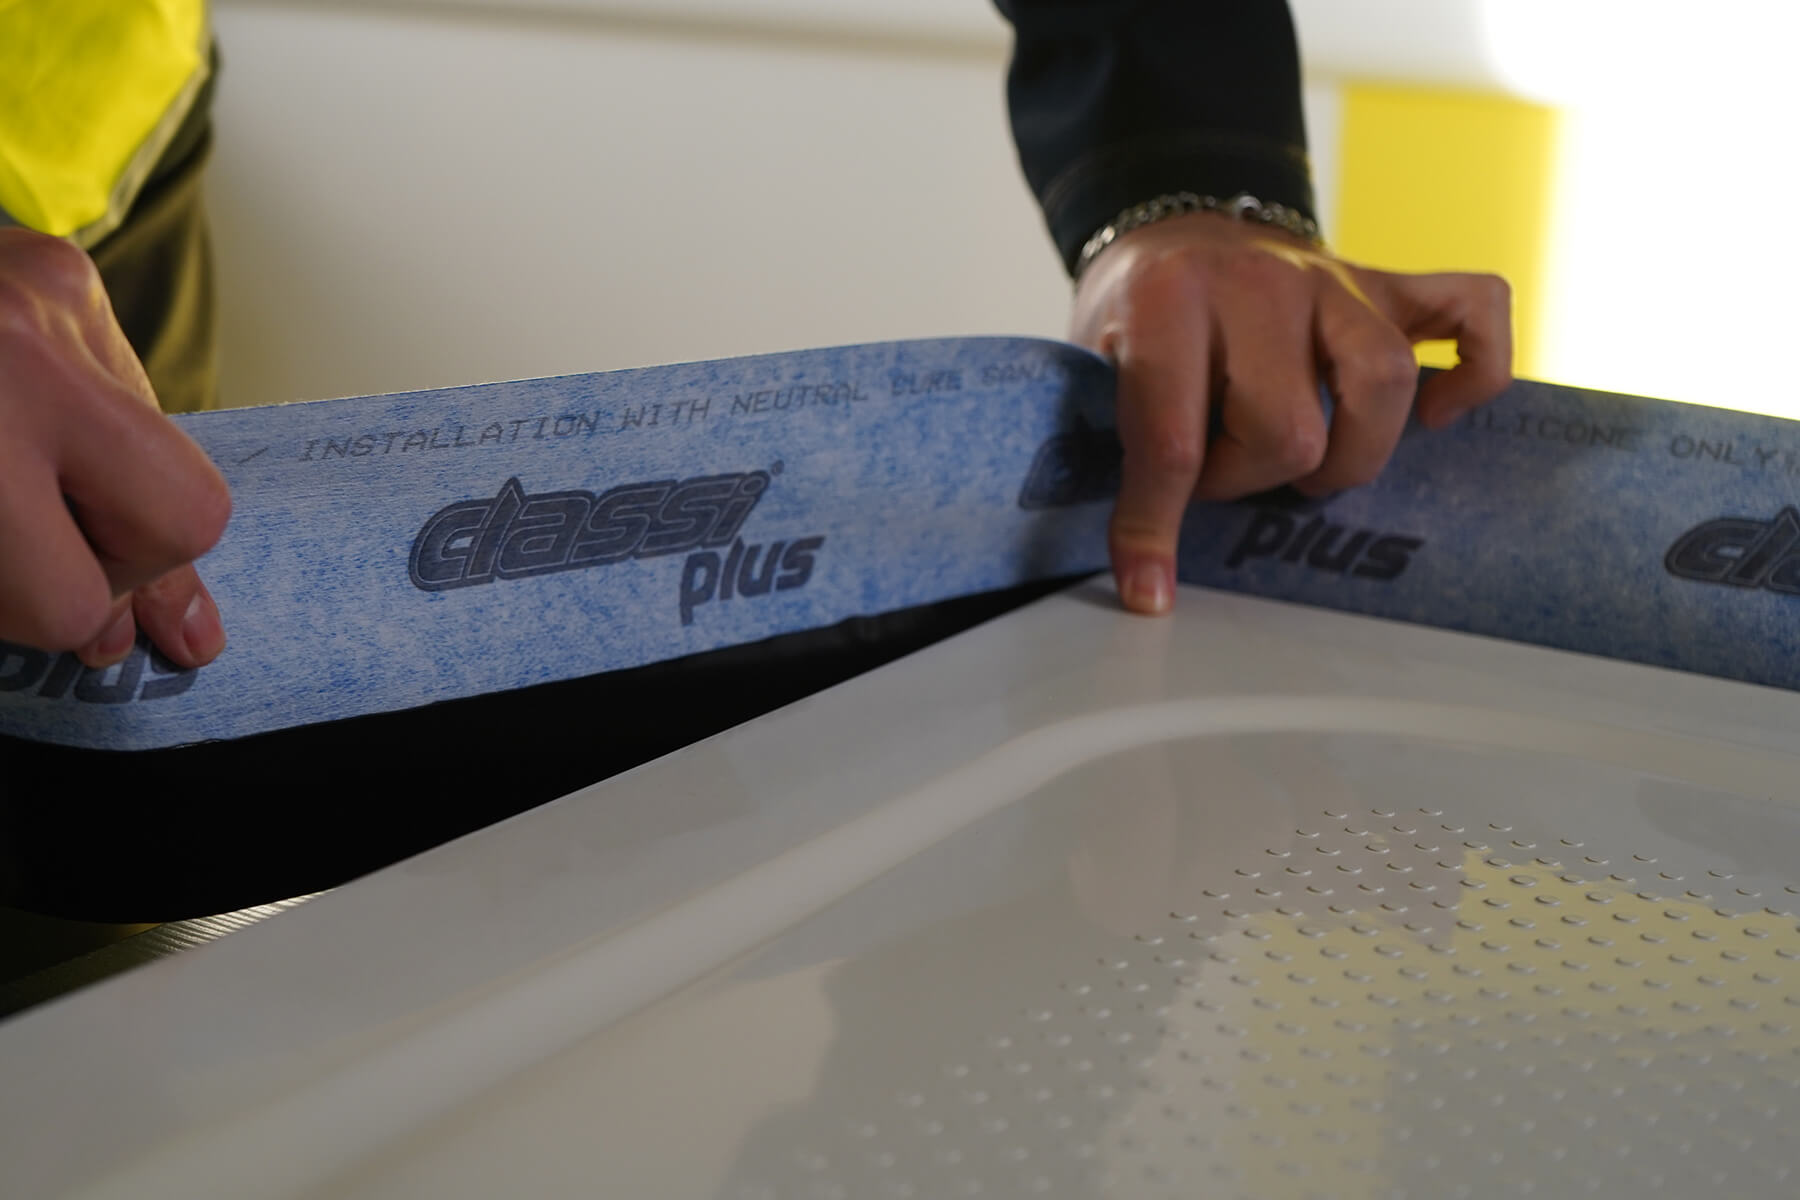
Before applying around the corners, pinch the Classi Plus to allow extra material in the corners – this helps with subsequent tiling. When finished applying, give the Classi Plus one last rub all the way round to ensure the perfect seal – paying special attention to the corners.
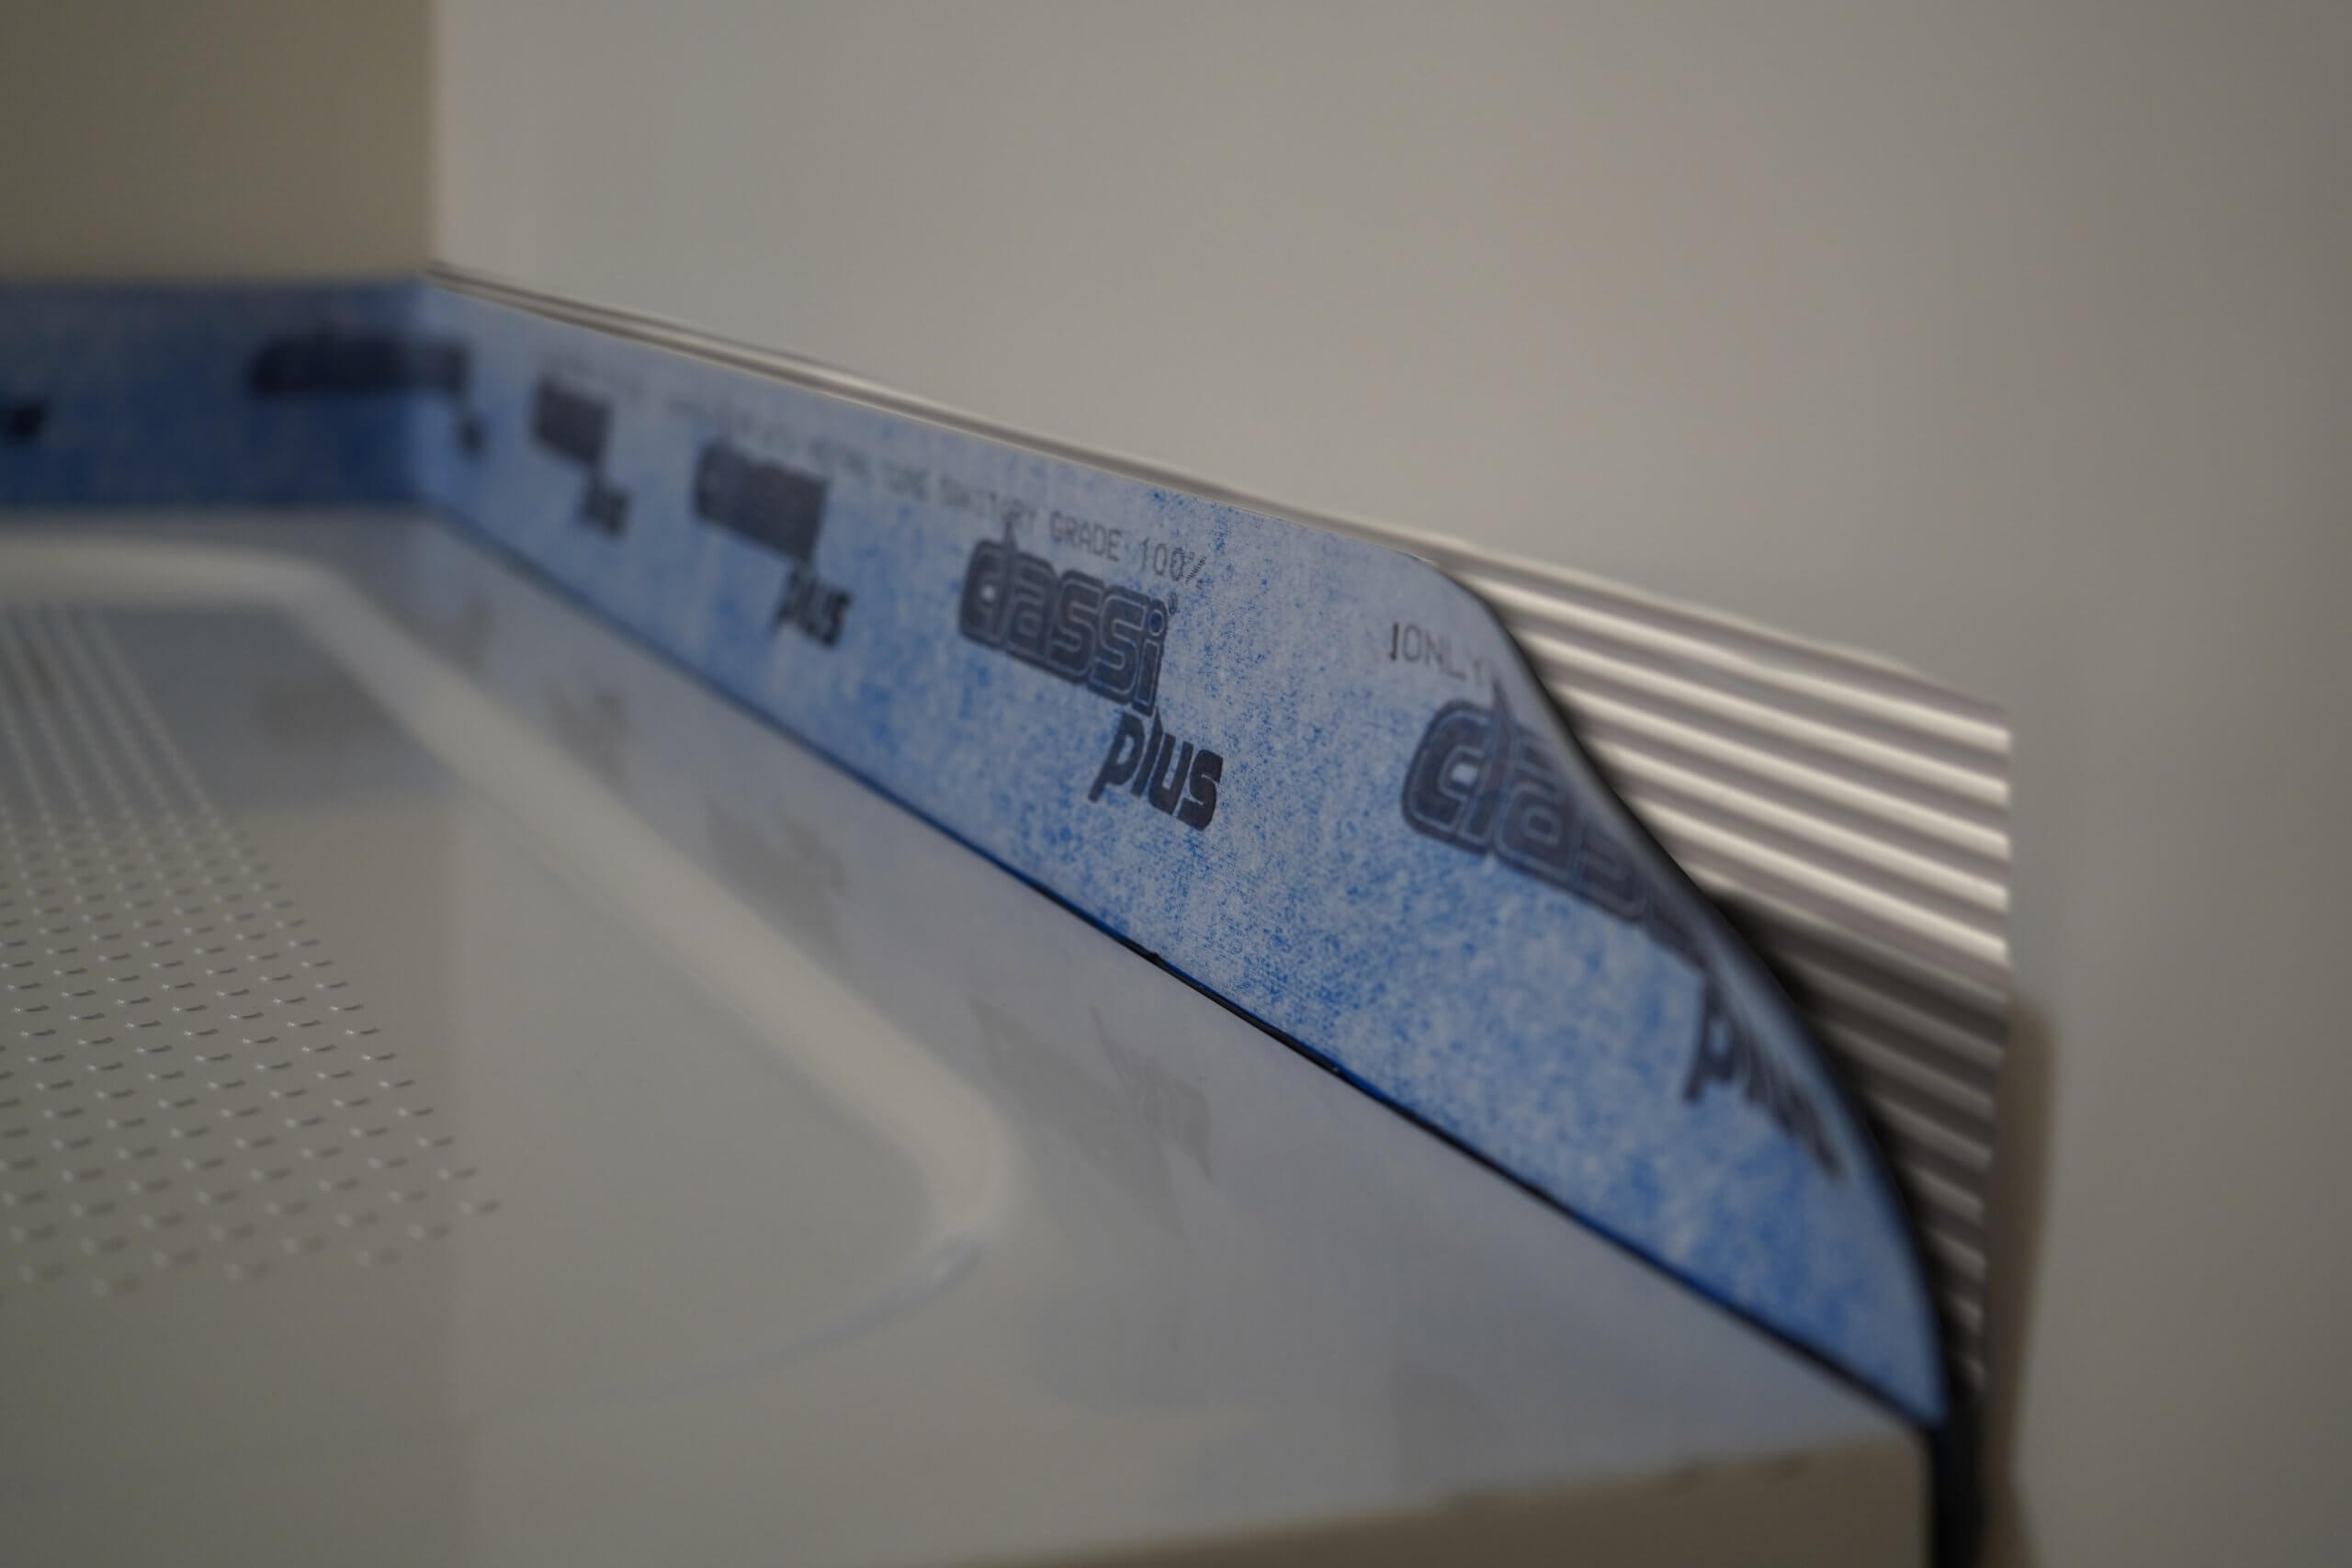
Step 4

Apply C2 tile adhesive (Find out more about C2) to wall behind Classi Plus upstand. Press upstand into adhesive with the back of the trowel ensuring there are no air pockets. 

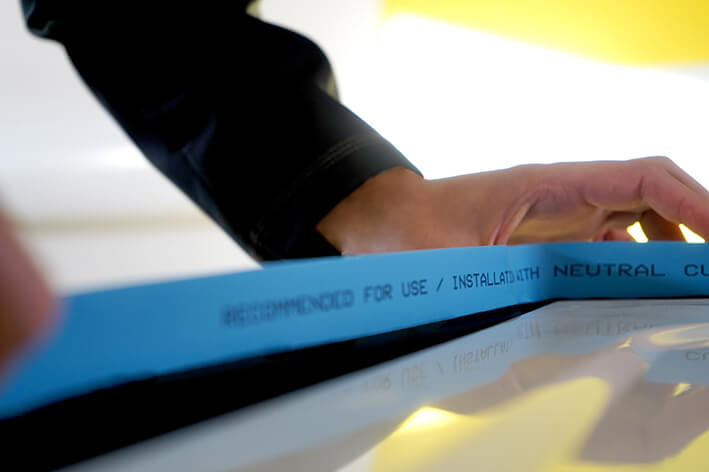
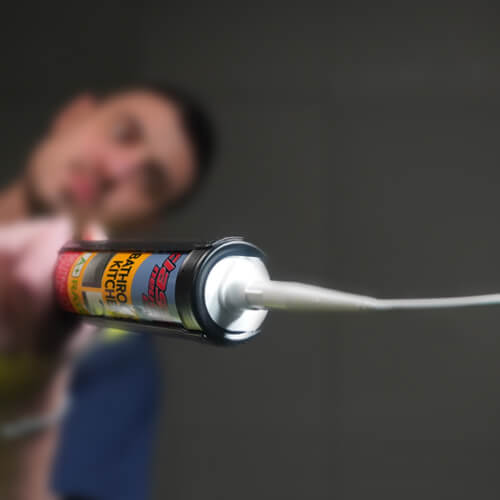
Following tiling or wall panelling, finish with a Neutral Cure Sanitary Grade 100% Silicone.

Classi Plus is available in 2m, 2.5m, 3.2m and 4m rolls, to be used in an unbroken, continuous run.

Should I Use Classi Seal or Classi Plus?

The choice is yours:

Classi Seal

This is the original product that has been a favourite among installers since 2006. It is specifically designed for waterproofing the critical junction between the wall surface and the bath or shower tray, ensuring a watertight seal.

Classi Plus

An upgraded version of Classi Seal, Classi Plus offers enhanced features, including a taller upstand which is particularly beneficial for small format tiles like mosaic or subway tiles. Its fleeced outer layer is compatible with tile adhesive and liquid sealing membranes, making it a versatile option for various bathroom designs.

What do I do with the Classi Seal upstand that touches the wall?

After you’ve correctly fitted your Classi Seal to the shower or bath, you might wonder what to do next.

As far as Classi Seal’s performance is concerned you are finished, it’s time to move on to tiling.

If you want to secure Classi Seal to the wall be sure to use a high-quality neutral cure 100% silicone or tile adhesive.

What do I do when Classi Seal or Plus extends below the bath or shower tray?

Sometimes the depth of your bath or shower is less than the black part of the Classi Seal/Plus. To deal with this you must remember:

“The golden rule of fitting Classi Seal/Plus: Line the top of the black with the top of the bath or shower. The perfect fit will show just a bit of black above the shower tray or bath.”

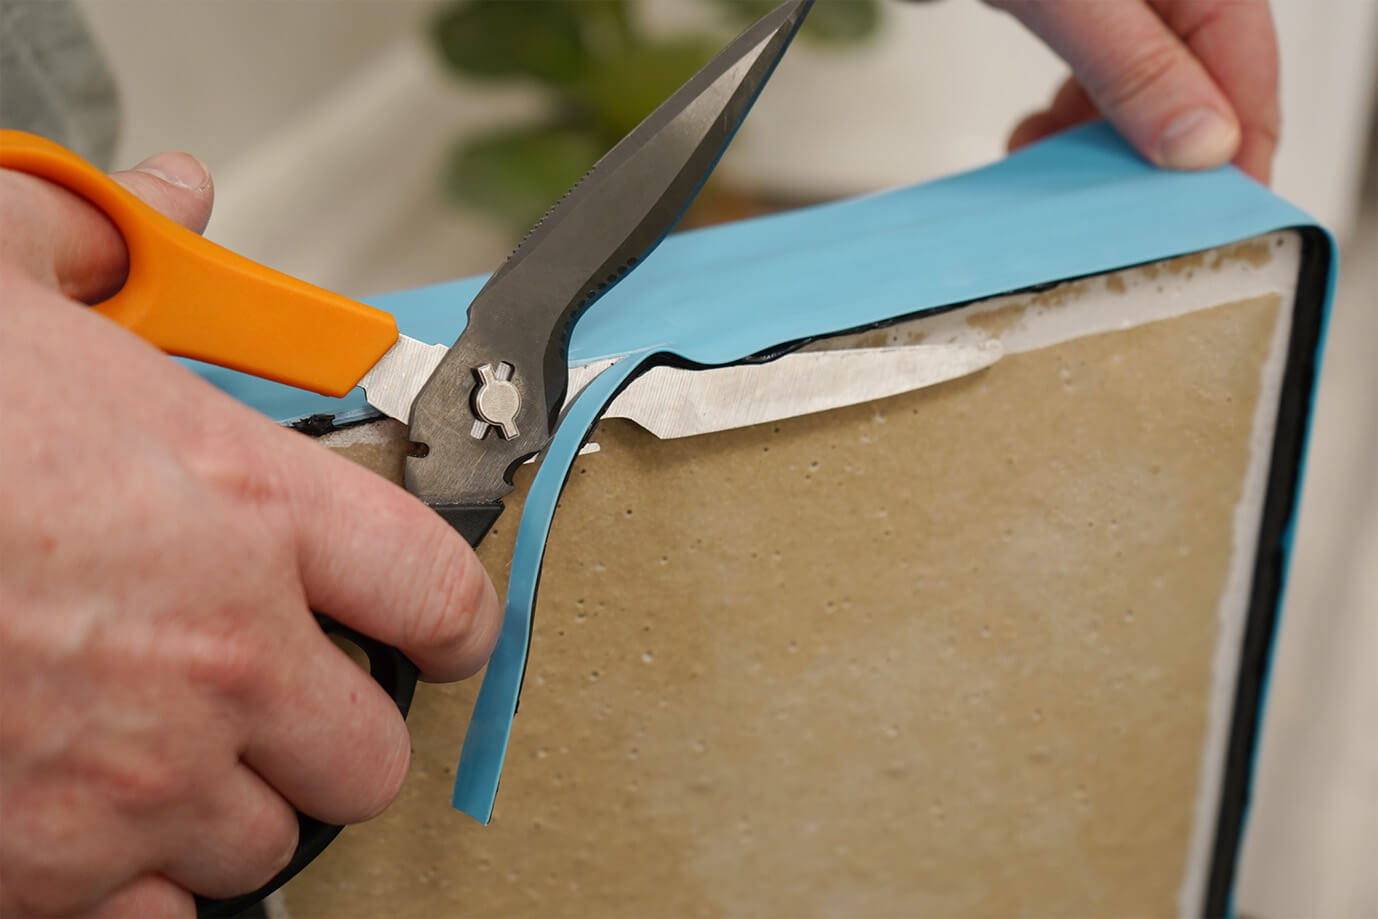
Once you’ve lined the top of the black up correctly, any overhanging Classi Seal/Plus will be under the bath or shower tray. Simply trim away the excess preserving the full height of the blue upstand.

Step 1

Line the black part of your Classi Seal/Plus with the top of the tray and install (Detailed Fitting Instructions Here).

Step 2

Carefully trim the excess from the bottom with a pair of scissors or a sharp knife.

How do I use a Classi Waterproof Membrane with underfloor heating? 

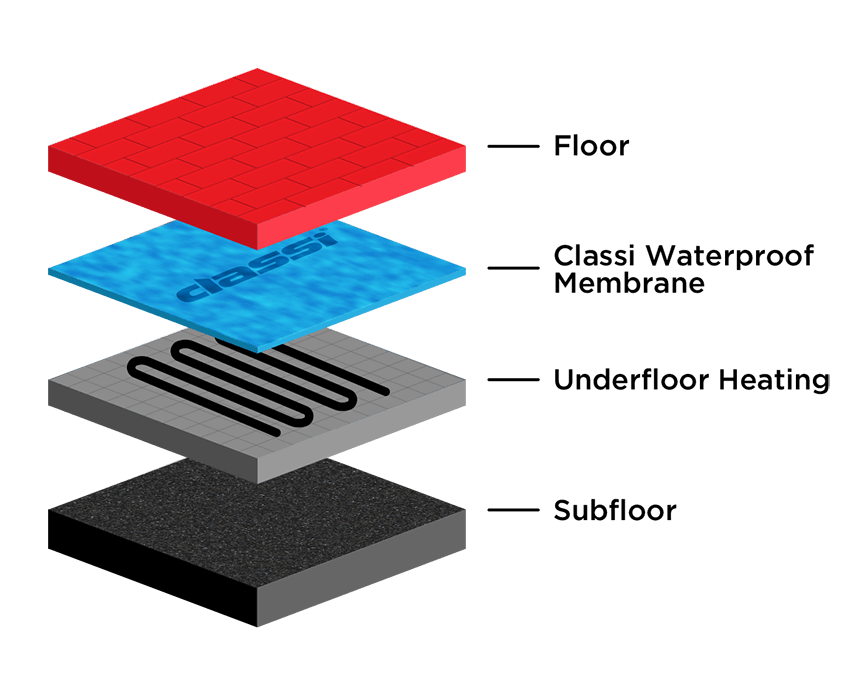
The best practice for using Classi Waterproof Membrane with underfloor heating is to make sure the membrane is above any underfloor heating components.

Your membrane is a barrier between the water in the bathroom and the underfloor heating.

Why is using the right type of silicone important? 

It is really important to use Neutral Cure 100% Silicone. This is in all our fitting instructions as well as being printed on the product. Using the wrong type of silicone, particularly certain cheaper acetoxy silicones with a high solvent content, can cause the black adhesive to melt. Other leading plumbing product manufacturers also expressly ban the usage of Acetoxy Silicones.

« Previous Page